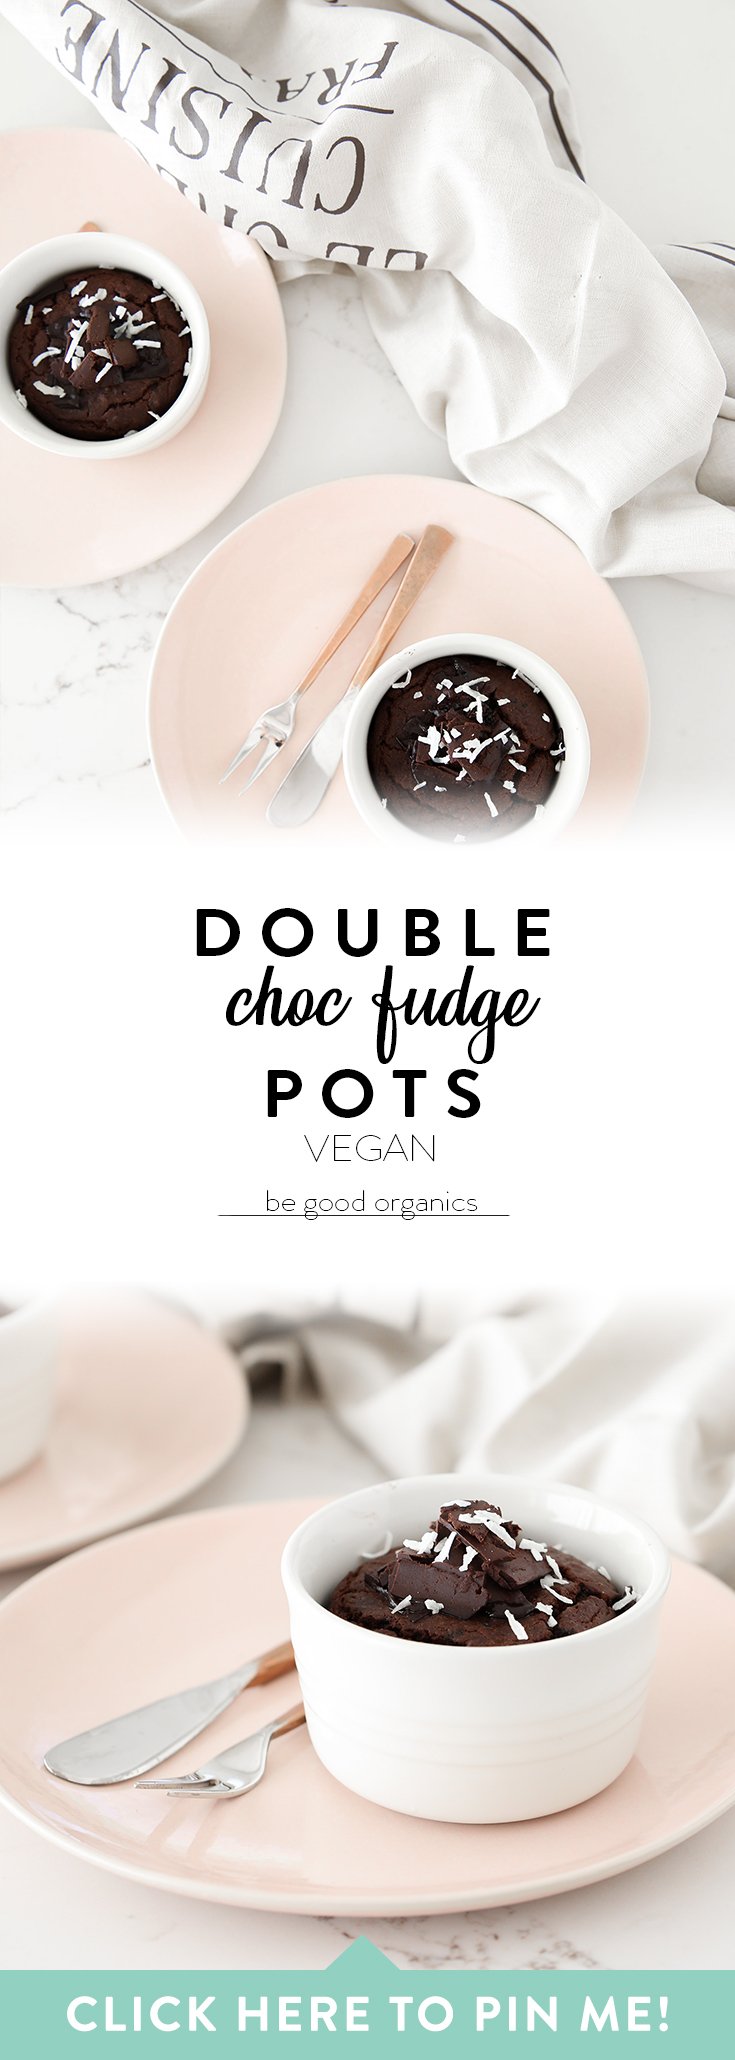
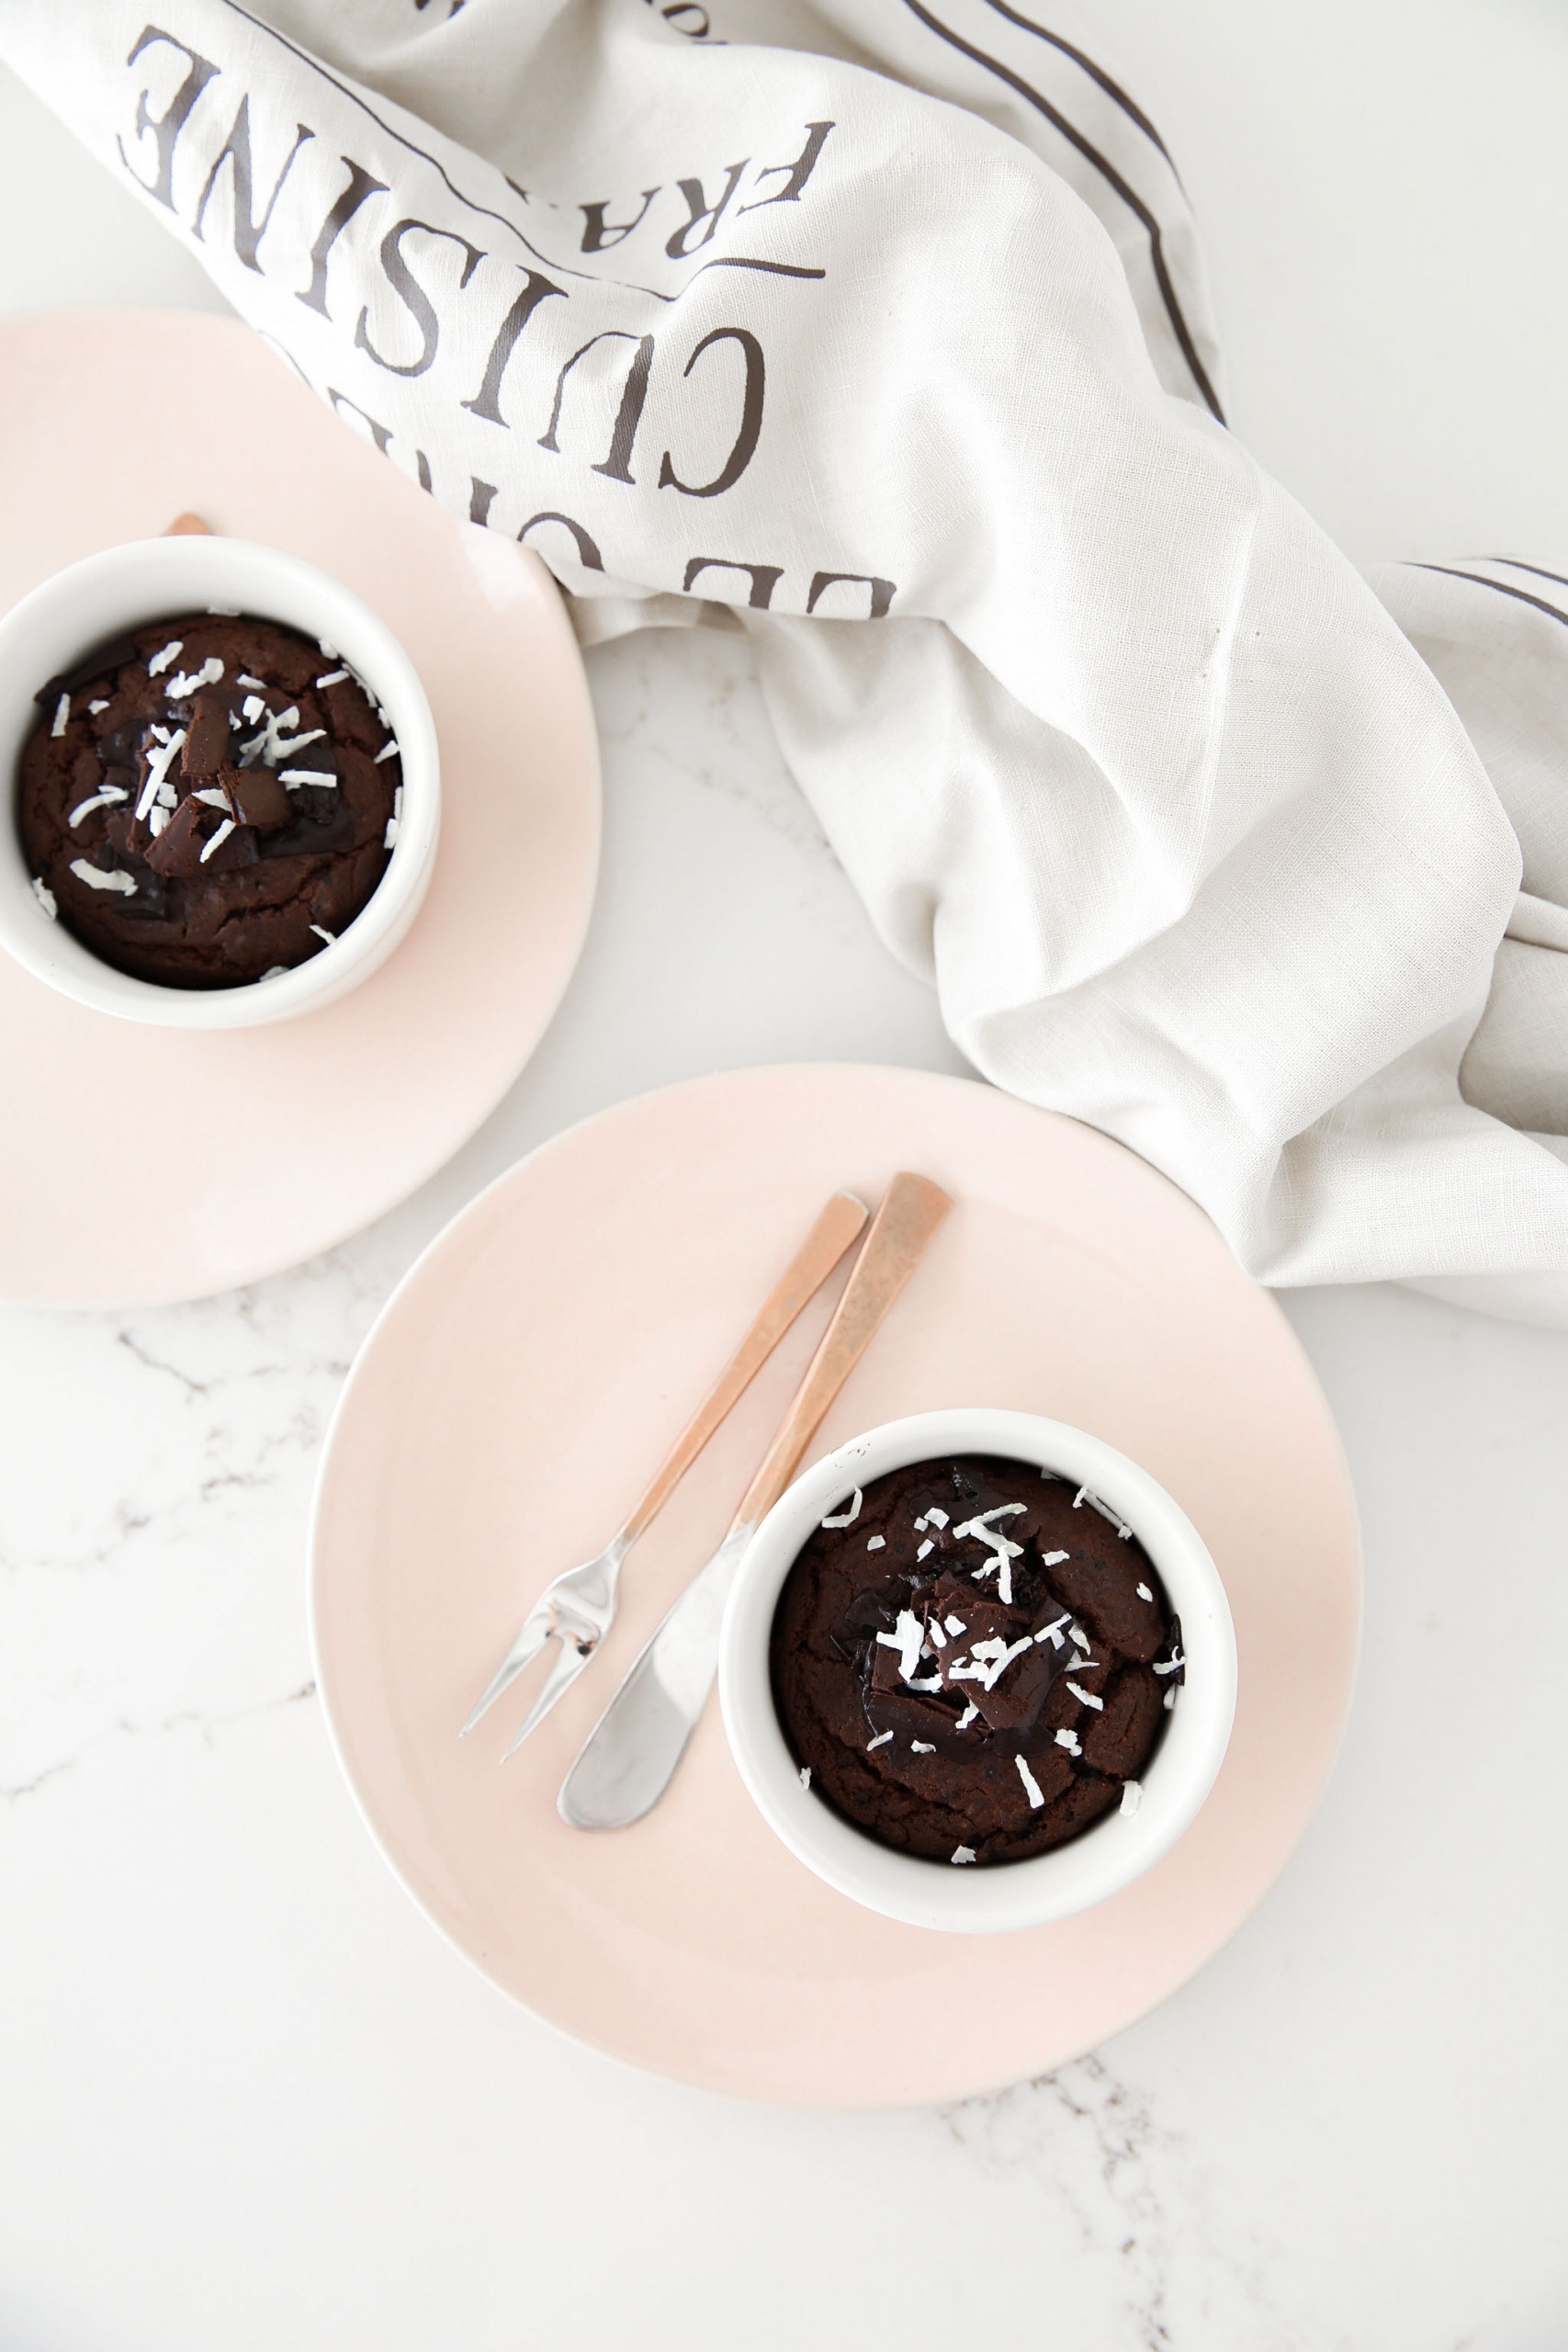
The only thing better than chocolate is double chocolate right? These rich Double Choc Fudge Pots are filled with the most divine melted chocolate centre, and are so easy to make. 10 minutes to prep plus 10 minutes to bake – meaning you could be eating them for dessert tonight!
Here’s why you’ll love them:
- 9 simple ingredients – that are probably already in your pantry
- Cheap – no fancy superfoods needed
- Soft, tender, and fluffy, with a gooey melted choc centre
- Done in just 20 minutes
Grab the recipe below, and give them a try tonight.
Watch How to Make Double Choc Fudge Pots
What are Double Choc Fudge Pots?
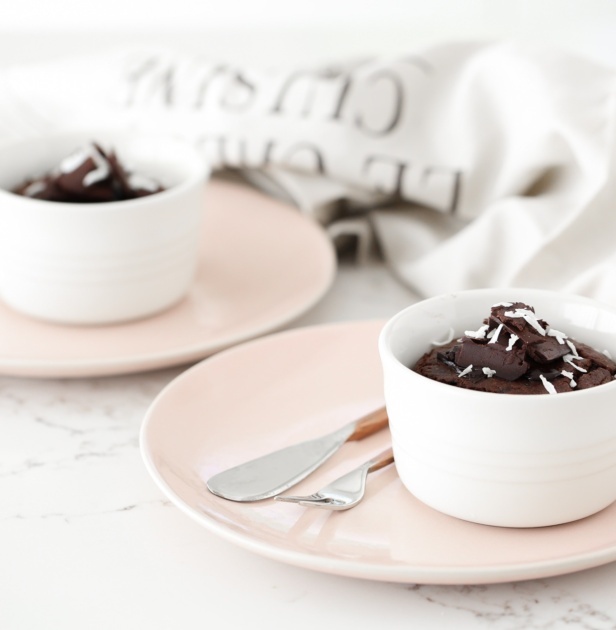
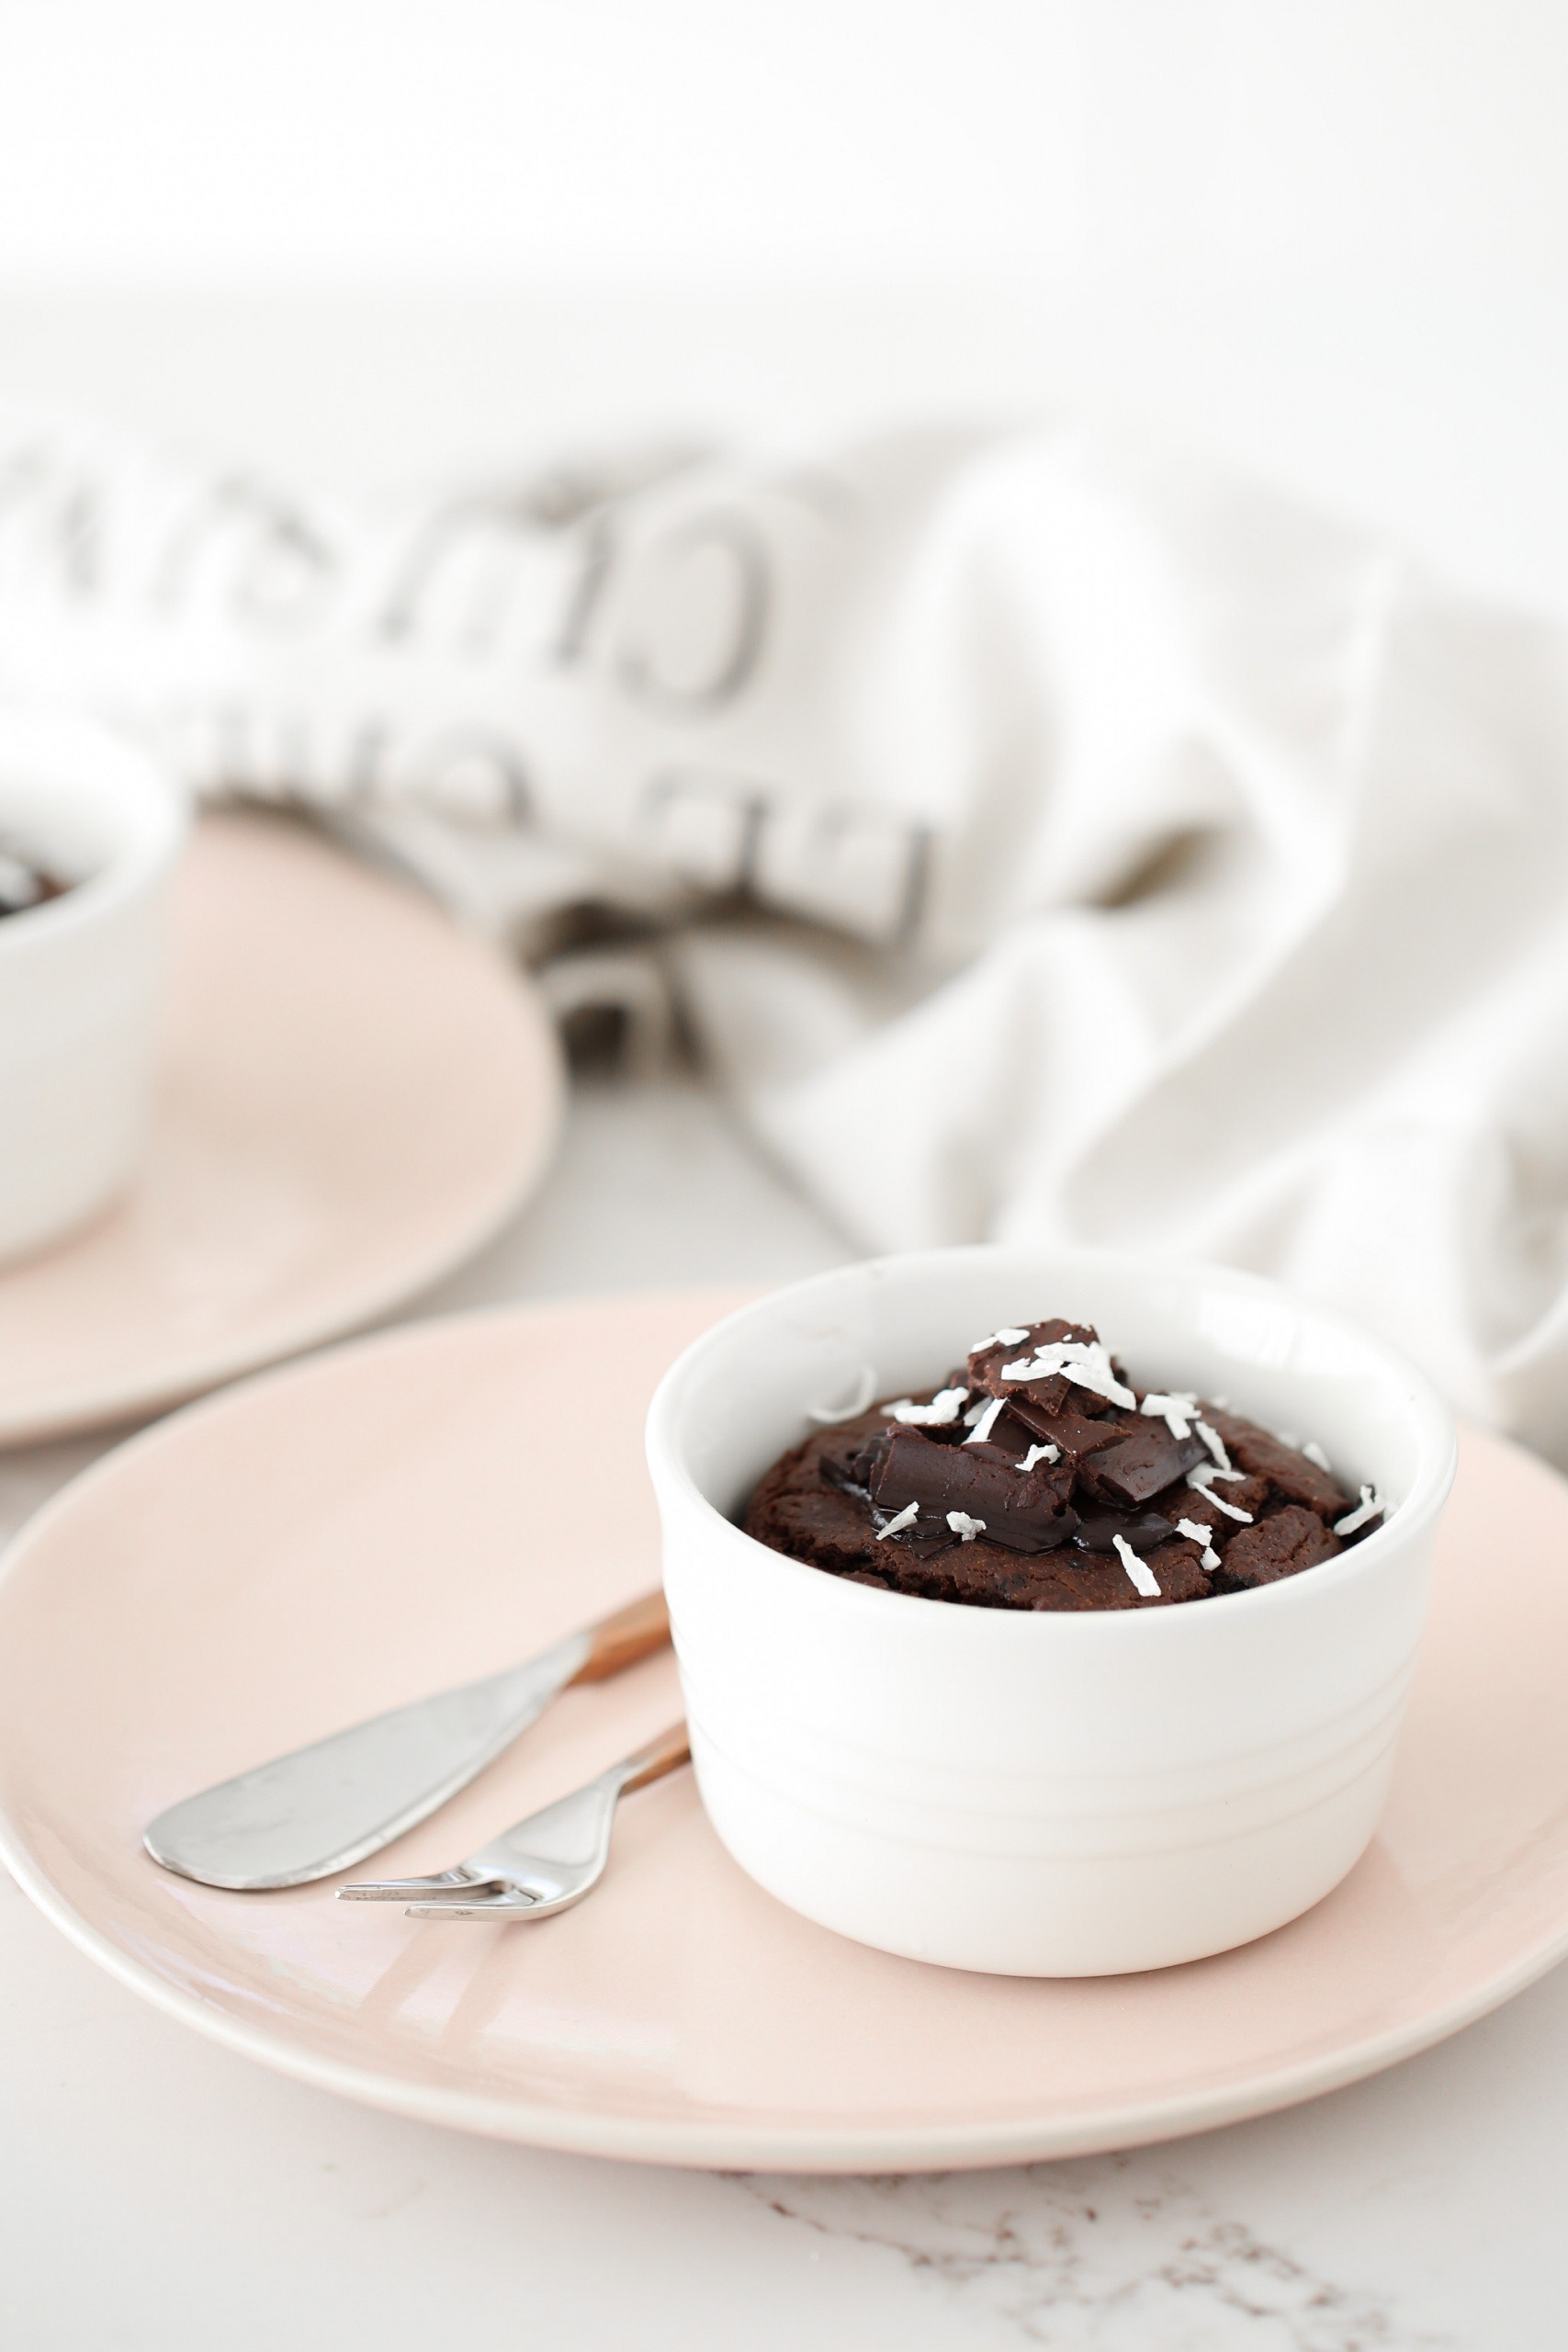
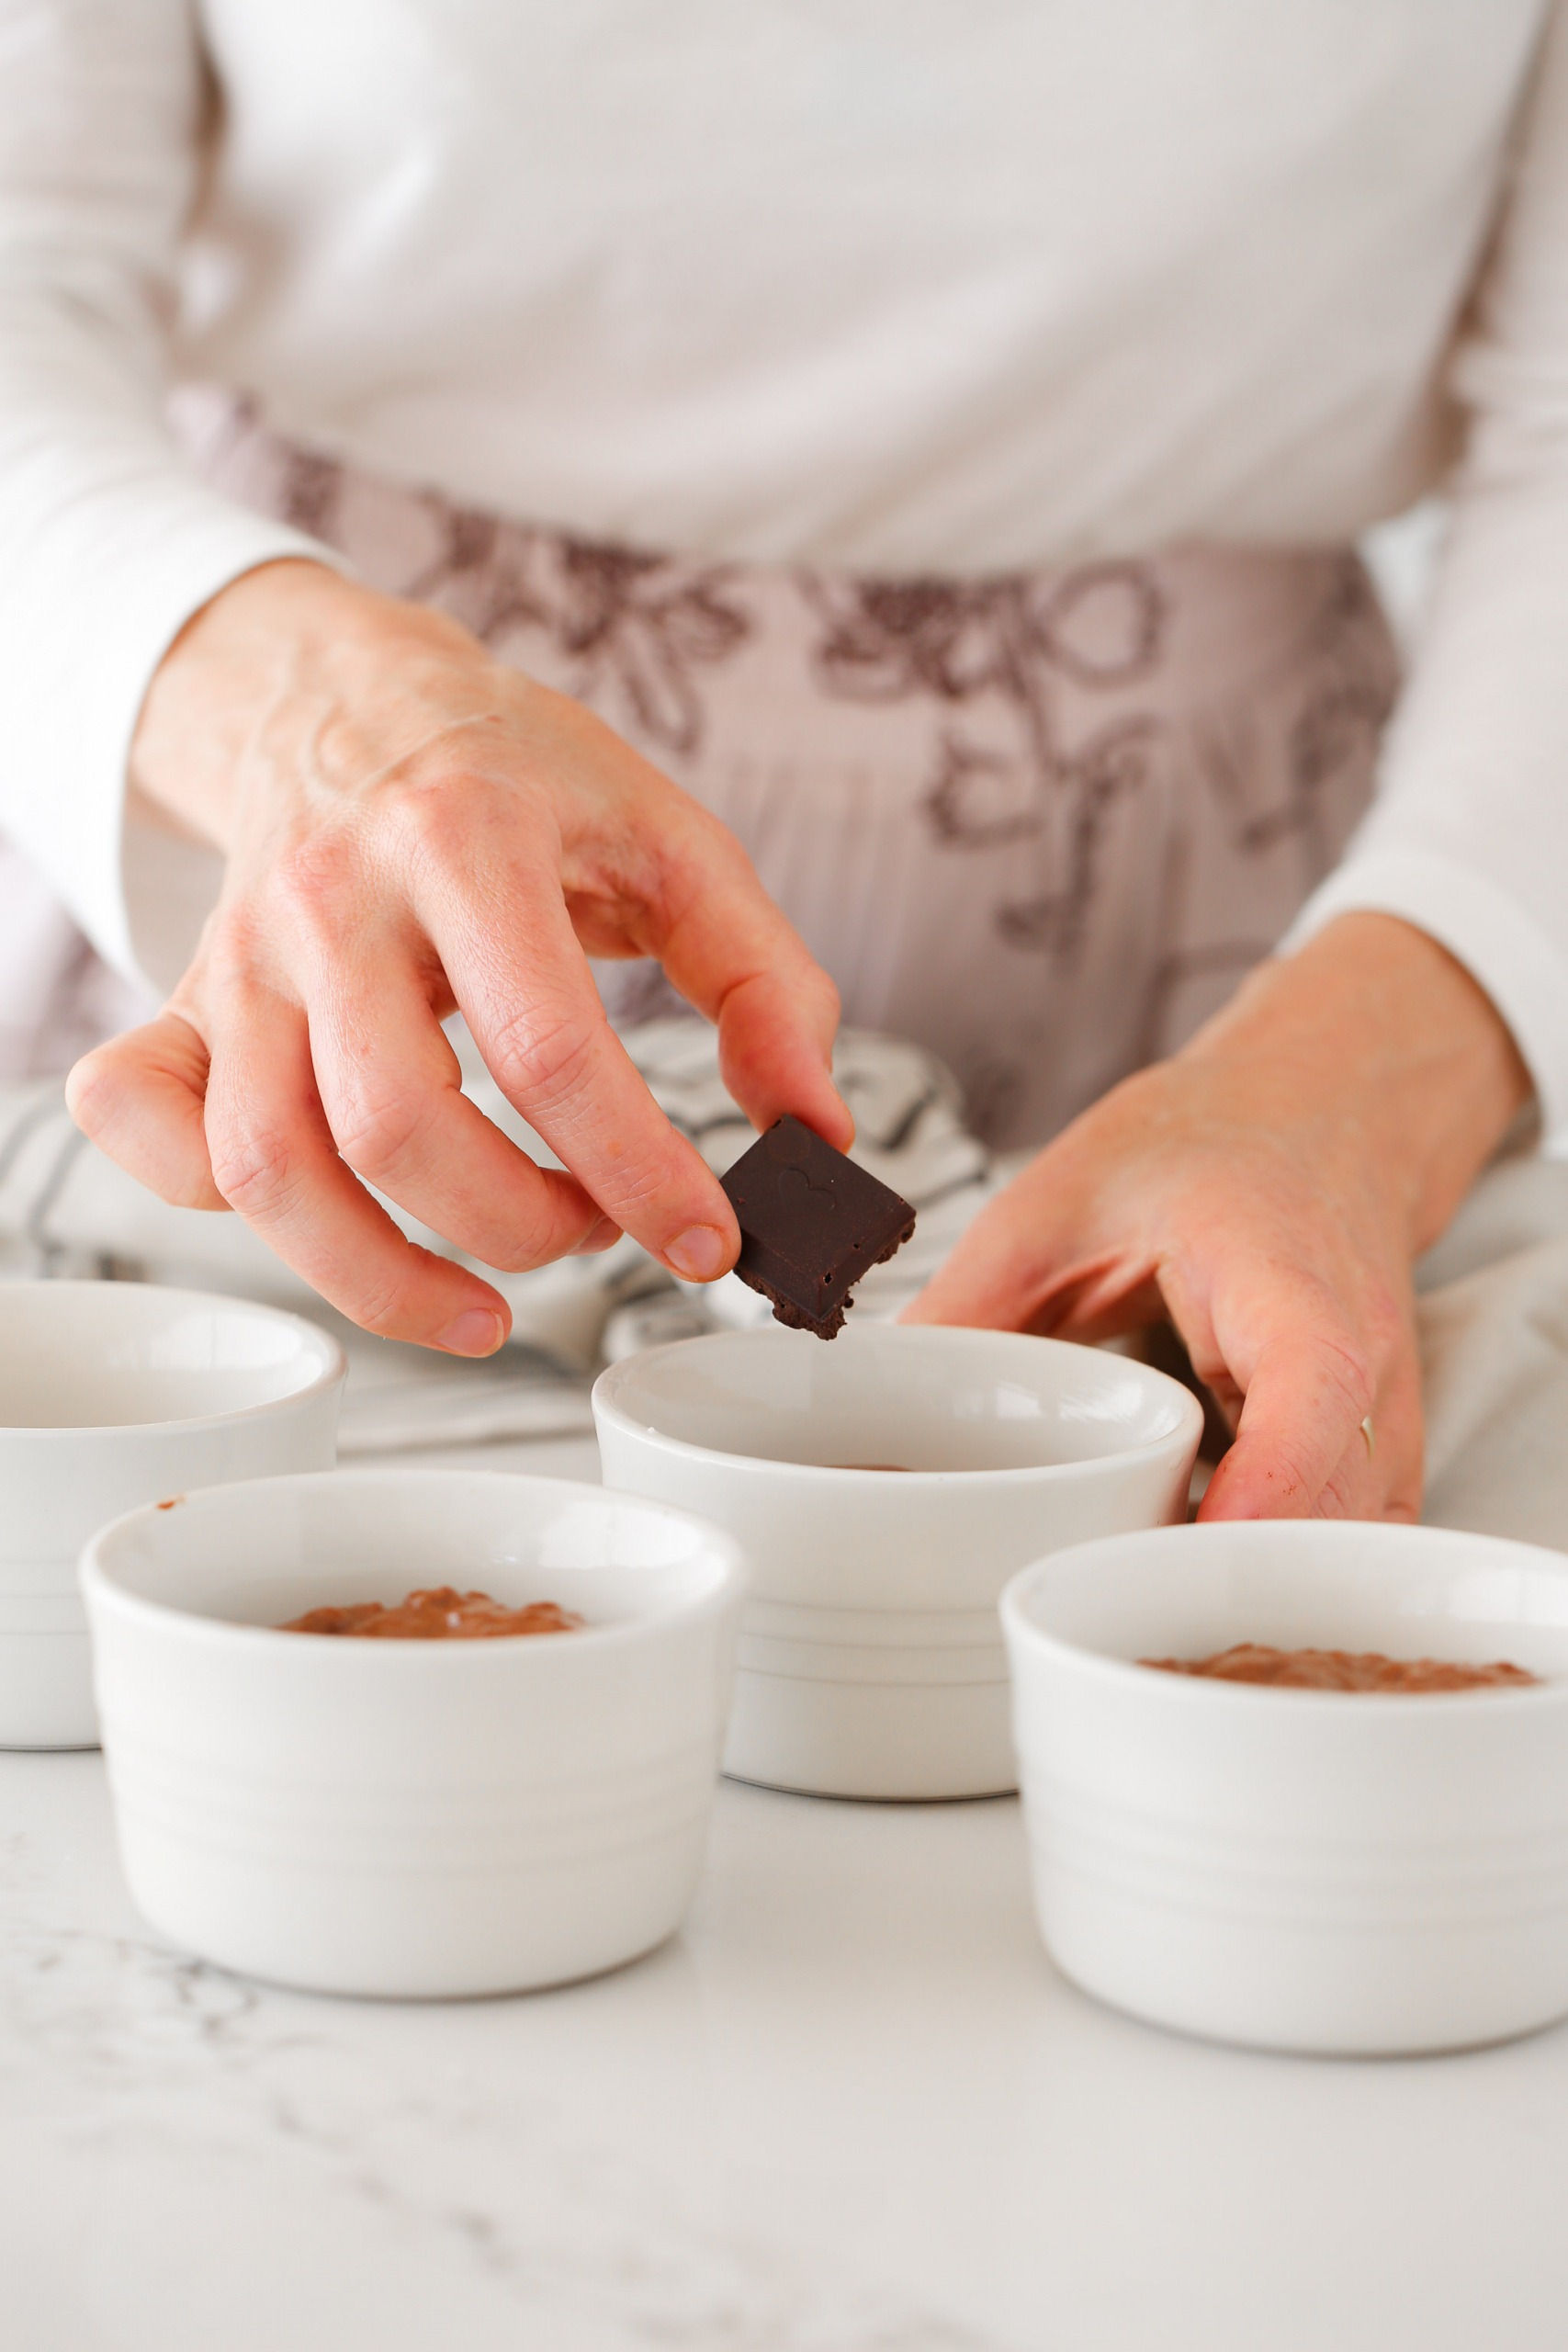
What exactly are double choc fudge pots? Really they’re simple mini mug cakes, filled with chunks of dark chocolate that melt when cooked. You only need a bowl to whisk together the ingredients, then into the oven they go. Meaning they’re perfect when you’re wanting something sweet in a dash, but without an extra trip to the store.
I’ve made them in mini ramekins, but any single serve oven dishes will do. Or you can also make them in a loaf tin which works just as well (I’ve included instructions below).
Ingredients for these Double Choc Fudge Pots
You only need pantry staples to whip up these mini chocolate fudge pots, but here’s a quick shopping list for you.:
- Wholemeal spelt flour
- Cacao powder
- Coconut sugar
- Baking powder
- Plant-based milk (oat, soy or rice)
- Coconut oil
- Apple cider vinegar
- Vanilla extract
- Dark chocolate
9 ingredients, 4 ramekins (or a loaf tin), and you’re ready for speedy choc fudge goodness.
Benefits of chocolate
There’s good reason for us doubling up on the chocolate here, and it’s not just for our tastebuds. Cacao, or cocoa, is a fabulous food to add to your repertoire, and here are three of my favourite reasons why:
- High in iron: Cacao is surprisingly one of the highest iron containing foods in the world, with 14 milligrams per 100 grams. This compares to red meat at 2.5 mg per 100 grams. We need iron to create our red blood cells, that carry oxygen around our body, so if we’re low, we can feel fatigued or low in motivation.
- Antioxidant rich: Cacao is high in antioxidants, the compounds which connect with and offset free radicals in our cells. In fact – per 100 grams, cacao contains an impressive 40 times the antioxidants of blueberries. We want to include as much antioxidant-rich food in our diet as possible, and along with berries, greens, and tea, cacao is a great source.
- Source of magnesium and serotonin: Magnesium helps to relax our muscles and nervous system, while serotonin boosts our mood. This is why eating chocolate can make you feel both relaxed and happy at the same time (good excuse I know).
You can read more about the benefits of cacao in one of my other posts here.
Tips for the perfect Double Choc Fudge Pots
There are a couple of tips for making sure these double choc fudge pots turn out perrrfect:
- Don’t over mix the batter: Over mixing the batter will lead to tough dense cakes. Instead you want to gently fold the wet ingredients into the dry until it’s only just combined – a few tiny flecks of flour left is ideal.
- Use good chocolate: The quality of your chocolate will make or break these pots. I recommend a 70% dark dairy-free chocolate for that perfect creamy melted inner, whilst still being relatively low in sugar. A higher cacao percentage choc such as 90% is too dark and bitter for these I think (I typically always buy 70% for my recipes).
- Under bake them slightly: The key to making these pots fudgy is to underbake them. This means the centre will remain soft and tender, and the edges chewy. As we’re baking without eggs, even 2-3 minutes too long can make our baked goods quite dry, so only bake them until the inside feels like it’s no longer like a soft liquid batter. They’ll keep cooking once they’re out of the oven, especially given their small size and connection with the hot ramekins. If you’re using a loaf tin you’ll need a slightly longer bake time, but the same still applies. Underbake, underbake, underbake.
If you want an even deeper chocolatey flavour, you can also add a shot of espresso – just reduce the milk to ½ cup if so.
Love individually baked desserts? Try these next:
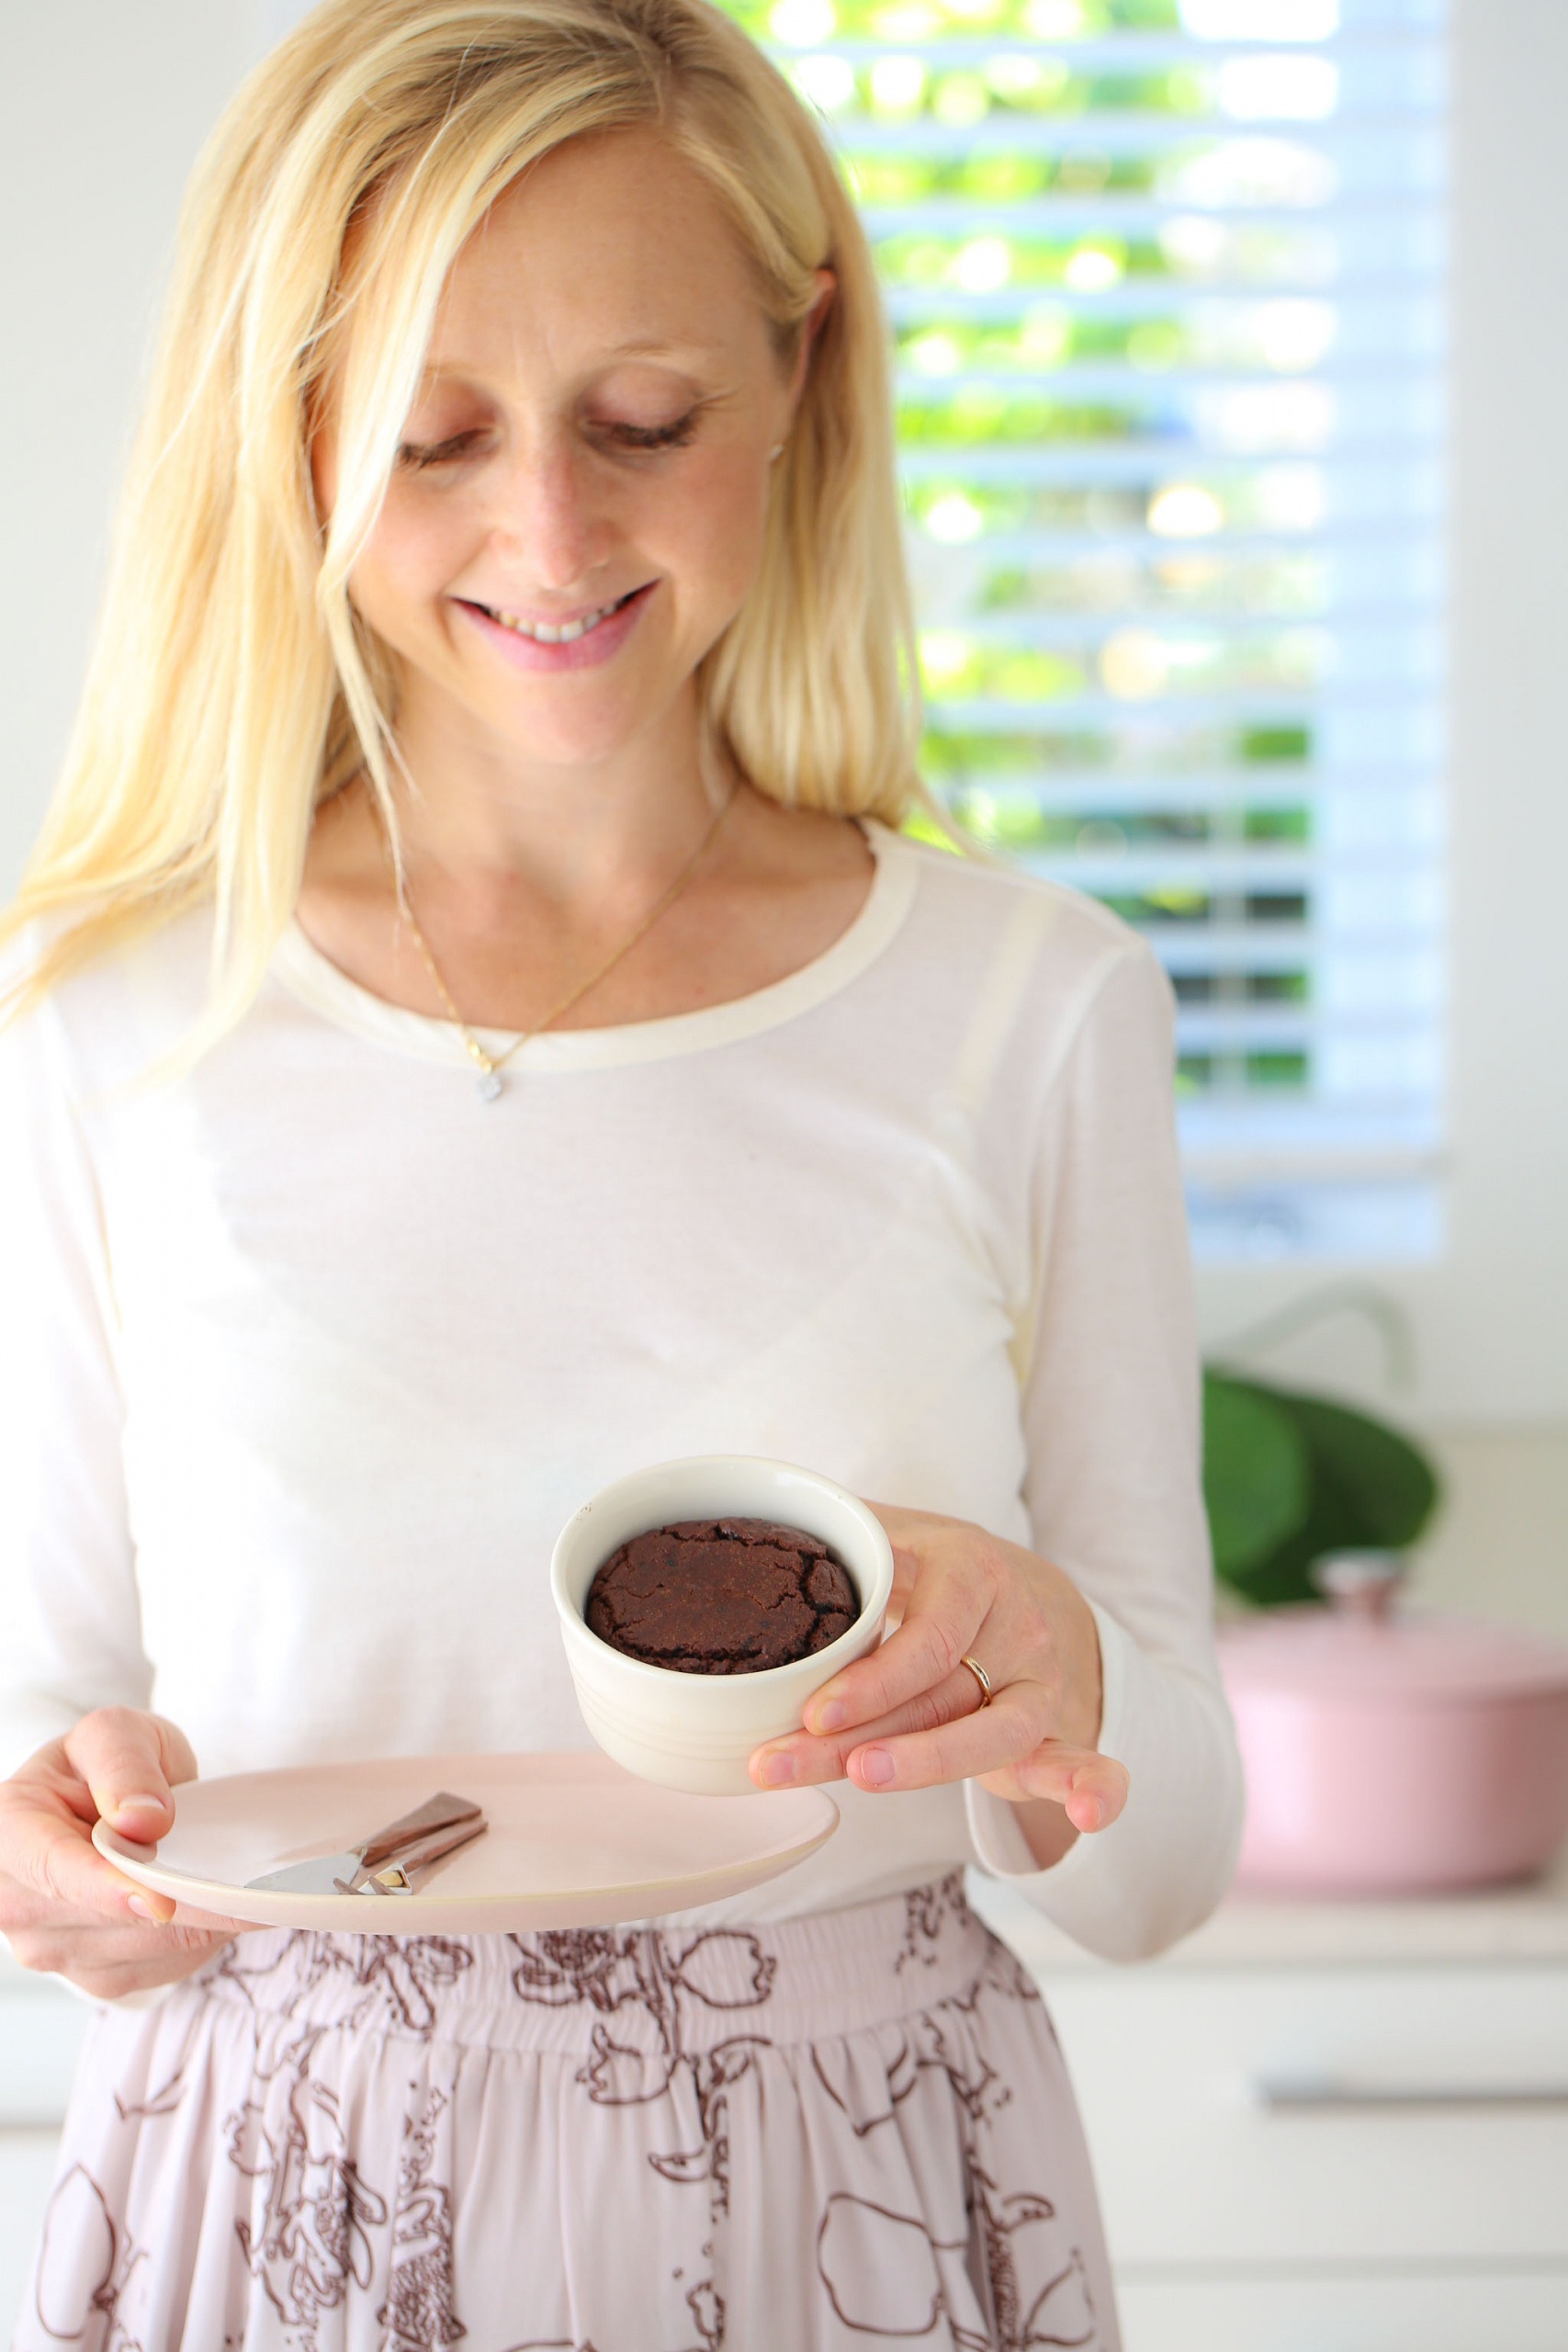
If you try these Double Choc Fudge Pots, let me know! Leave a comment and rating below, or share a photo on Instagram and tag me @begoodorganics. I can’t wait to hear how you go.

Ingredients
Wet
- 3/4 c plant-based milk
- 1/4 c coconut oil melted
- 1 tsp apple cider vinegar
- 1 tsp vanilla extract
Dry
- 1 c wholemeal spelt flour
- ⅓ c coconut sugar
- ¼ c cacao powder
- 1 tsp baking powder
- ¼ tsp sea salt
- 70 g dark chocolate roughly chopped
Instructions
- Pre heat the oven to 180°C fan bake, and grease four mini ramekins.
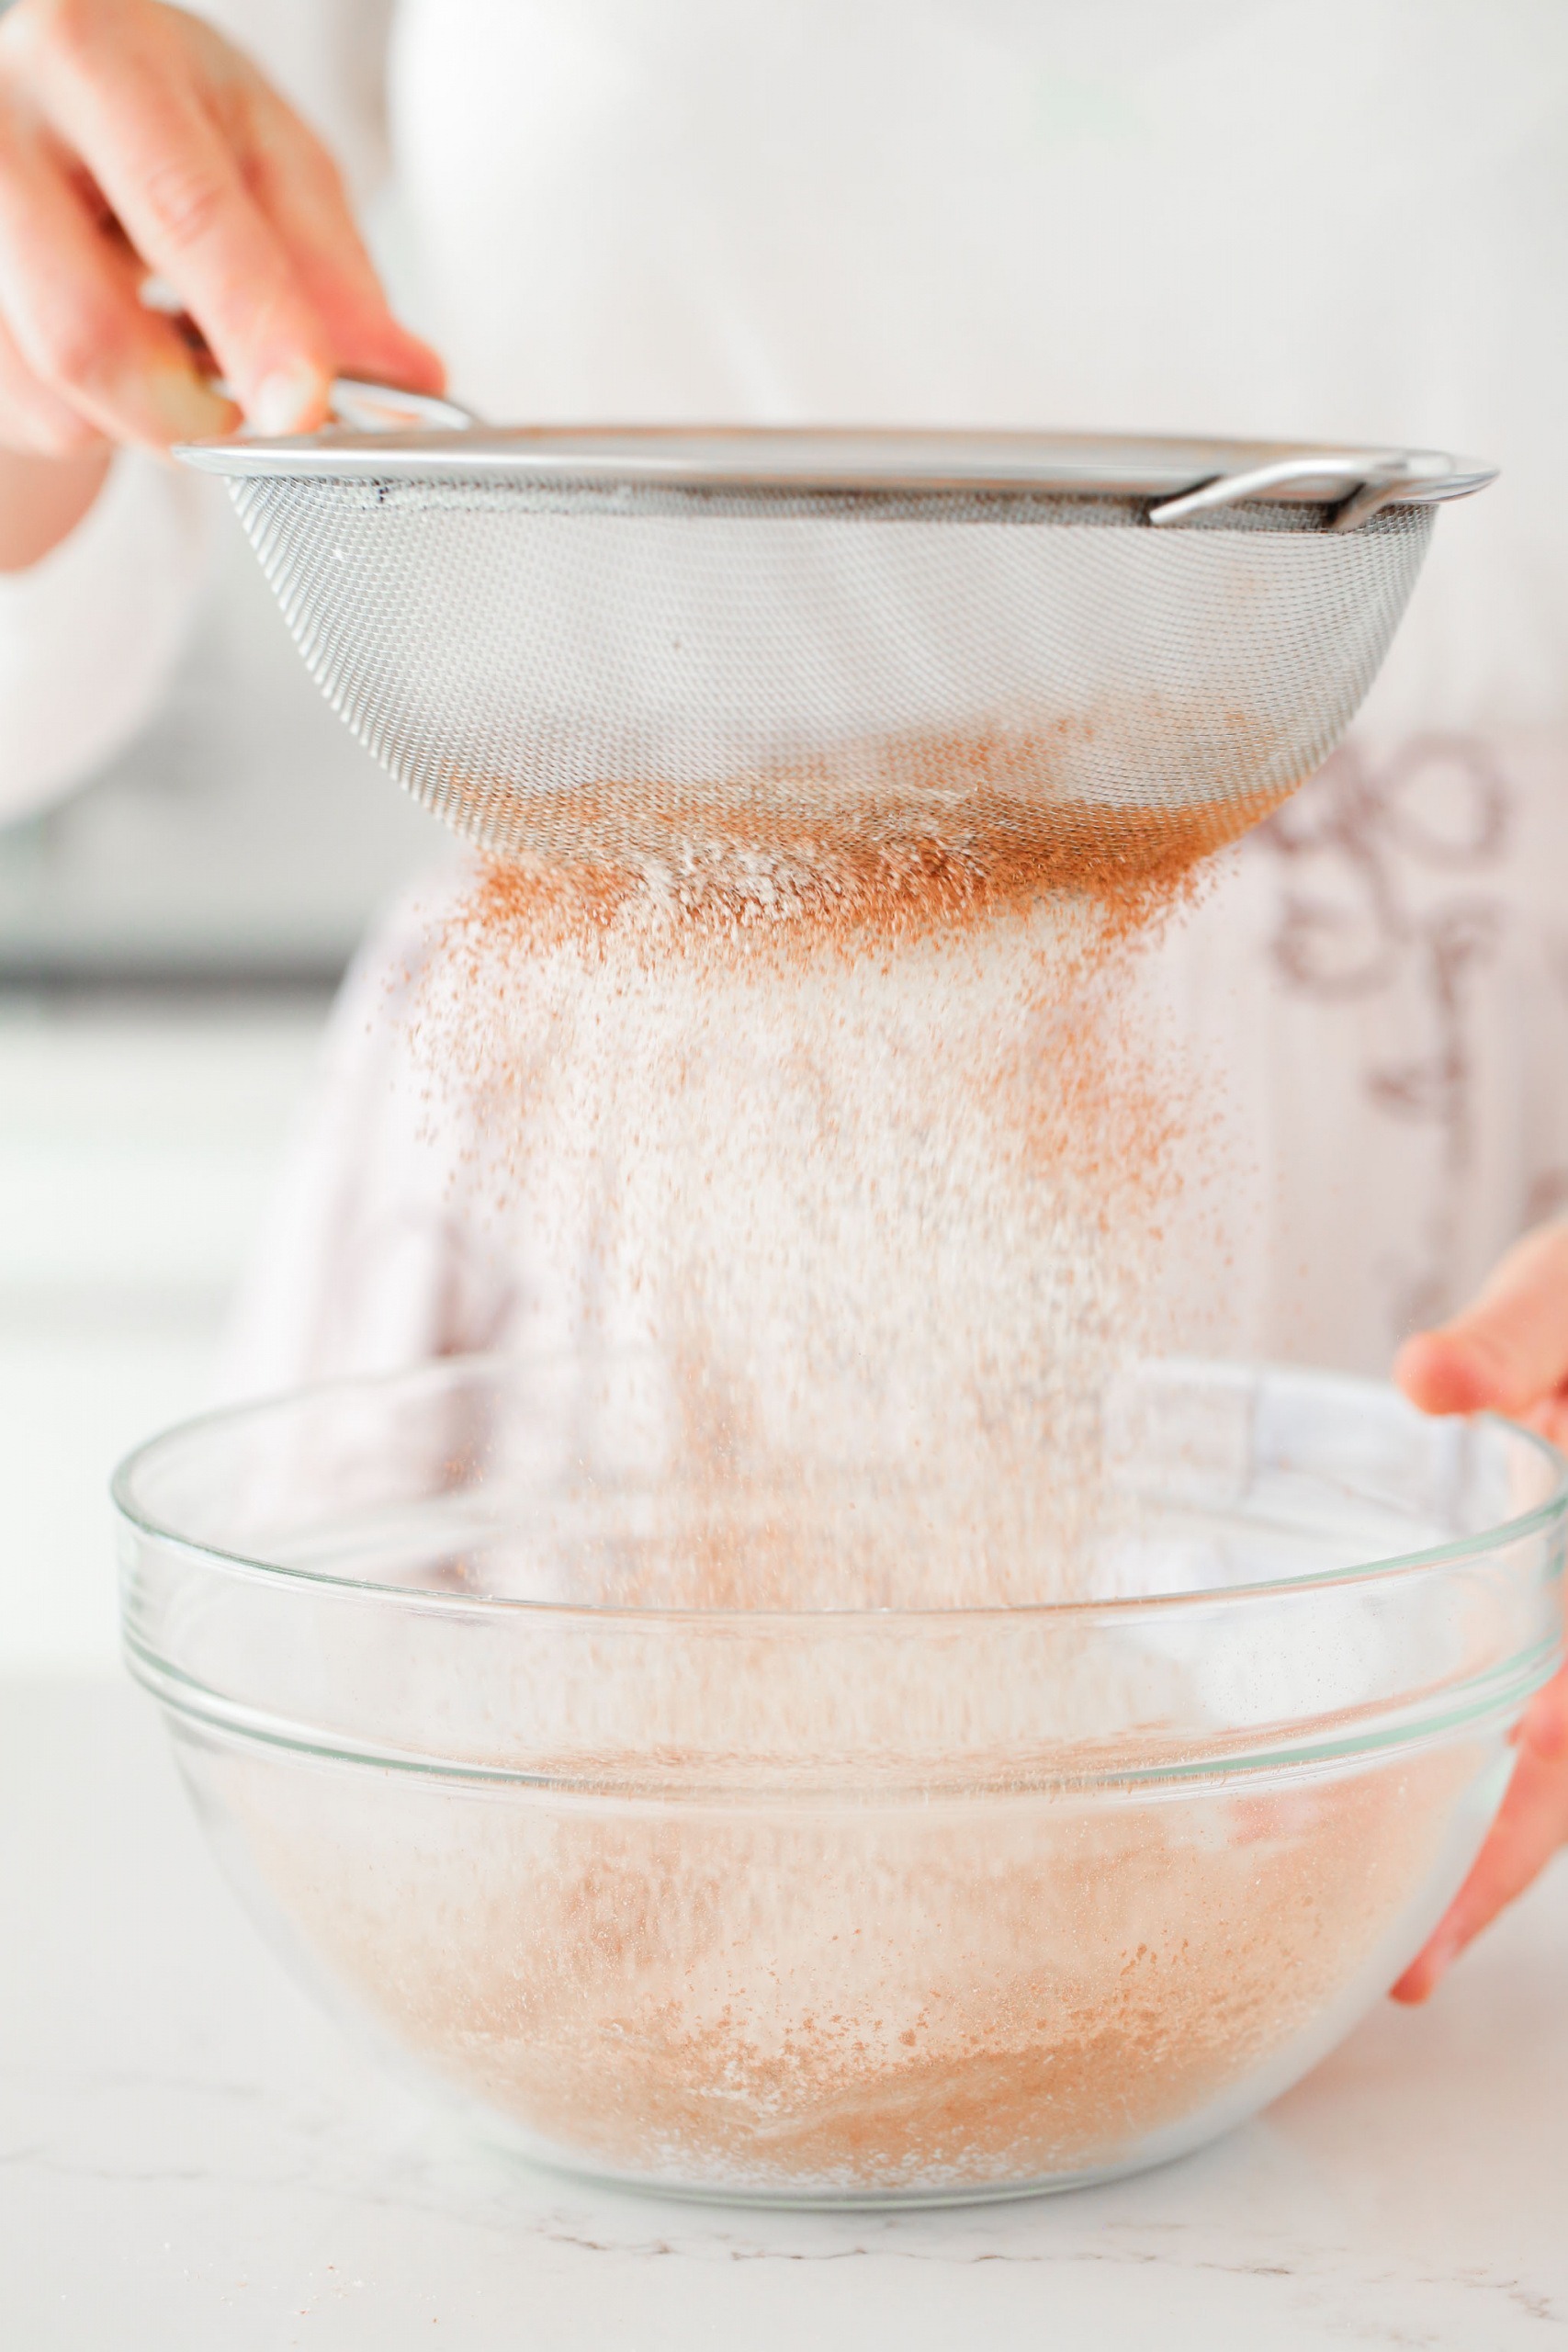
- Mix wet ingredients in a bowl and set aside. Sift dry ingredients into another bowl, then pour wet mix into the dry and stir until just combined. Pour into ramekins, press a little chopped chocolate into the centre of each, and bake for 10-15 minutes, or until just cooked in the centre and when you press them it bounces back. Opt for 10 minutes then test and add another 2-5 minutes only if needed.
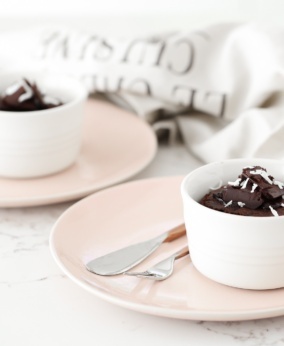
- Let cool for a few minutes, then flip onto a plate or serve in the ramekins, with vanilla ice cream or yoghurt and berries if desired.
Recipe Notes
- Gluten free: Replace spelt flour with ⅓ cup brown rice + ⅓ cup buckwheat/almond flour + ⅓ cup tapioca flour. Or your favourite gluten free blend.
- Sugar free: Replace the coconut sugar with ⅔ c date paste, and reduce the milk to ½ cup.
- Oil free: Replace the oil with 1 apple, blending it with the wet ingredients in a blender until super smooth.
- You can also add a shot (30mL) of espresso to enhance the chocolate flavour, just reduce the milk to ½ cup.
- You’ll notice in the vid I added the coco sugar to the wet ingredients by accident (oops), but it’s better to add it to the dry.
- If you use a loaf tin, the timing for me was 20 minute exactly. In ramekins it was 10 minutes. Depending on the size of your ramekins, you may be somewhere in between (the press in the centre of the baked good test is the best guide).
Did You Make This?
Tag @begoodorganics
I can’t wait to see your creations!